How to Shrink Wrap Outdoor Furniture (and Why)
Most people associate shrink wrap with wrapping up meals, but shrink wrap has many different uses around the home. One surprising use for shrink wrap is on outdoor furniture. In this article, we’ll cover why you might want to shrink wrap outdoor furniture, and we’ll provide a step-by-step guide for how to do it yourself.
Why Shrink Wrap Outdoor Furniture?
You may be asking yourself: why would someone want to shrink wrap outdoor furniture in the first place? There are a few reasons why shrink wrapping your outdoor furniture, with the two primary reasons being preparing the furniture for a move and protecting it during the ‘off season’ for your outdoor furniture.
Shrink wrap can protect furniture from being scratched and dinged, which is why it can be an option if you’re planning to move the furniture to another location or home. Shrink wrap can also protect furniture from the elements, including weather, dust, and condensation. This makes it a good option if you have a balcony in a colder climate and want to store your outdoor furniture away during the colder months.
Pros and Cons
There are both benefits and downsides to shrink wrapping your furniture. You will want to consider these carefully before making a decision.
Pros
- Shrink wrap protects your furniture when it’s moved or stored
- Shrink wrap is more effective at protection than simple tarps or covers
- You can shrink wrap multiple types of furniture tied together
Cons
- The process can be time consuming
- Getting quality shrink wrap might be expensive
- Using heat on shrink wrap is a potential fire hazard (requires safety precautions)
What You’ll Need
You don’t need many tools and supplies in order to shrink wrap your outdoor furniture. However, it should be noted that you must consider the overall quality of the shrink wrap before you make your purchase. Look for shrink wrap designed for furniture like this one. Do NOT use ordinary “food” shrink wrap, as it will not be able to withstand the heat necessary to shrink wrap your furniture.
- Shrink wrap
- Twine or thin rope
- Scissors or utility knife
- Heat gun
- Straps
Steps to Shrink Wrap Outdoor Furniture
The following are the basic steps you need to follow to shrink wrap your outdoor furniture.
1. Secure the furniture together
If you’re wrapping multiple pieces of furniture together, such as tables and chairs, secure them together with strong twine or rope. Maximize space by clustering the furniture together closely.
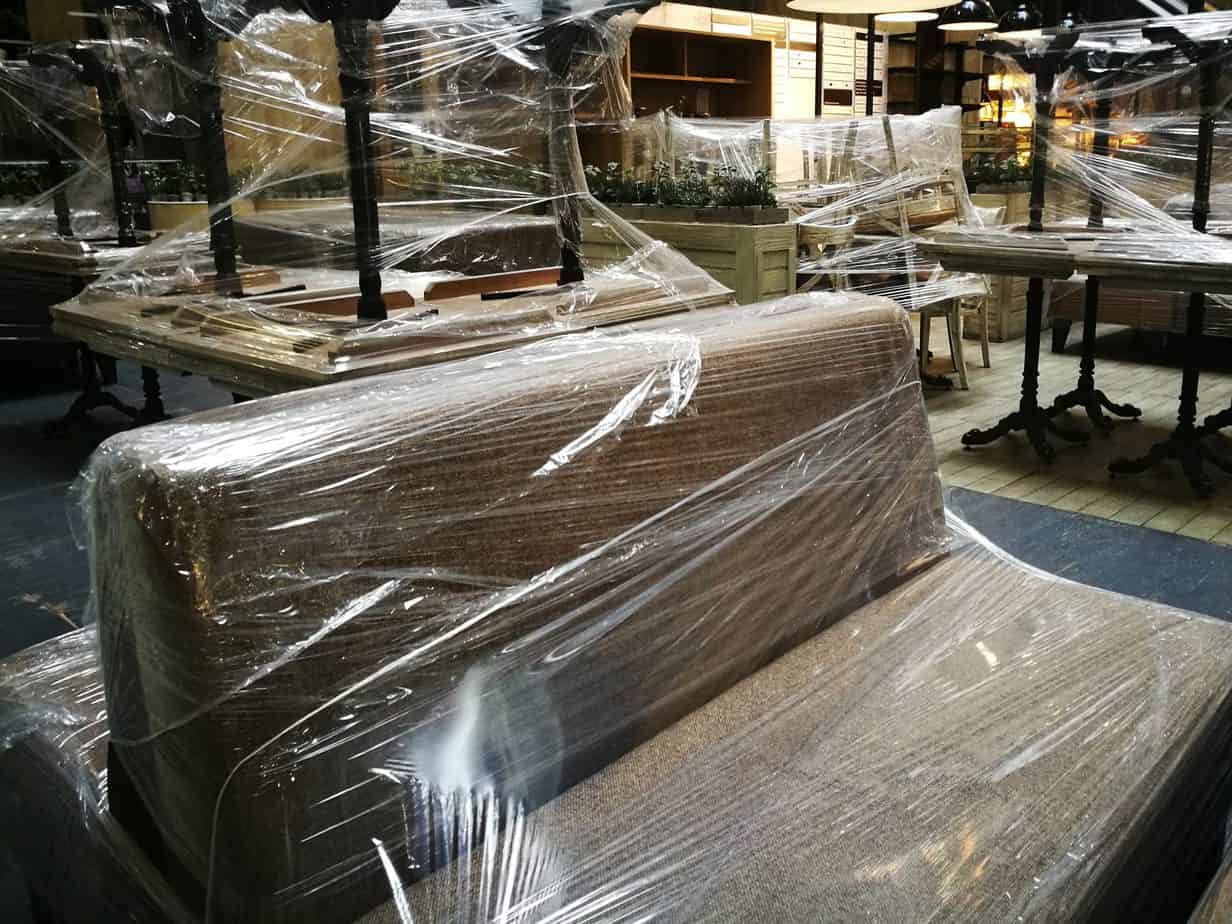
2. Wrap the furniture
Next, wind your shrink wrap around the furniture. Keep the shrink wrap away from the ground, as you don’t want it to pick up dirt or debris, which can cause scratches. If there is any excess shrink wrap, cut it off when you’re done.
3. Strap the furniture
Now, strap the furniture tightly to keep the shrink wrap in place.
4. Use a heat gun
ALWAYS follow all safety rules when using a heat gun for shrink wrap. Keep a fire extinguisher nearby just in case of an emergency. When using a heat gun, use it on the base first and then move on to the seams of the shrink wrap before finally heating up the rest of the shrink wrap material. When the shrink wrap is tightened, you are finished.
Final Thoughts
Shrink wrapping furniture does take a lot of time, but it’s worth the time investment in many cases, especially if you plan on putting your furniture away for half of the year. Hopefully this article has provided a good overview on what to expect if you want to shrink wrap your outdoor furniture.