Dirt-Free DIY Dog Potty
Several years ago, I made my first DIY dog potty for my balcony.
The initial idea was sparked because of my dog’s medical issue.
One of my basset hounds suffers from IVDD and has a flare up every now and then. When this happens, she’s on strict crate rest for a few weeks while her back heals. That means she isn’t allowed to go on long (or even short) walks. She can only go outside to use the bathroom. Quickly.
This can be a challenging dilemma for a dog that lives in an apartment where a walk is necessary.
So, I decided to build one that would work for her.
DIY dog potties are great for a number of reasons. They look cool/different, they work, and you can customize them for any sized space that you want. You can also customize the materials used if your dog prefers one material over the other.
If you properly maintain them, they will last for months and therefore are much less expensive than alternative solutions.
That’s what I’ve been doing for years. Recently, though, I decided that I needed a change.
Thinking of Easier Solutions
I got tired of building + rebuilding a dog potty a couple times a year. I also got really tired of the mess that the dirt + debris would bring.
Every couple of months, my car would look like this:
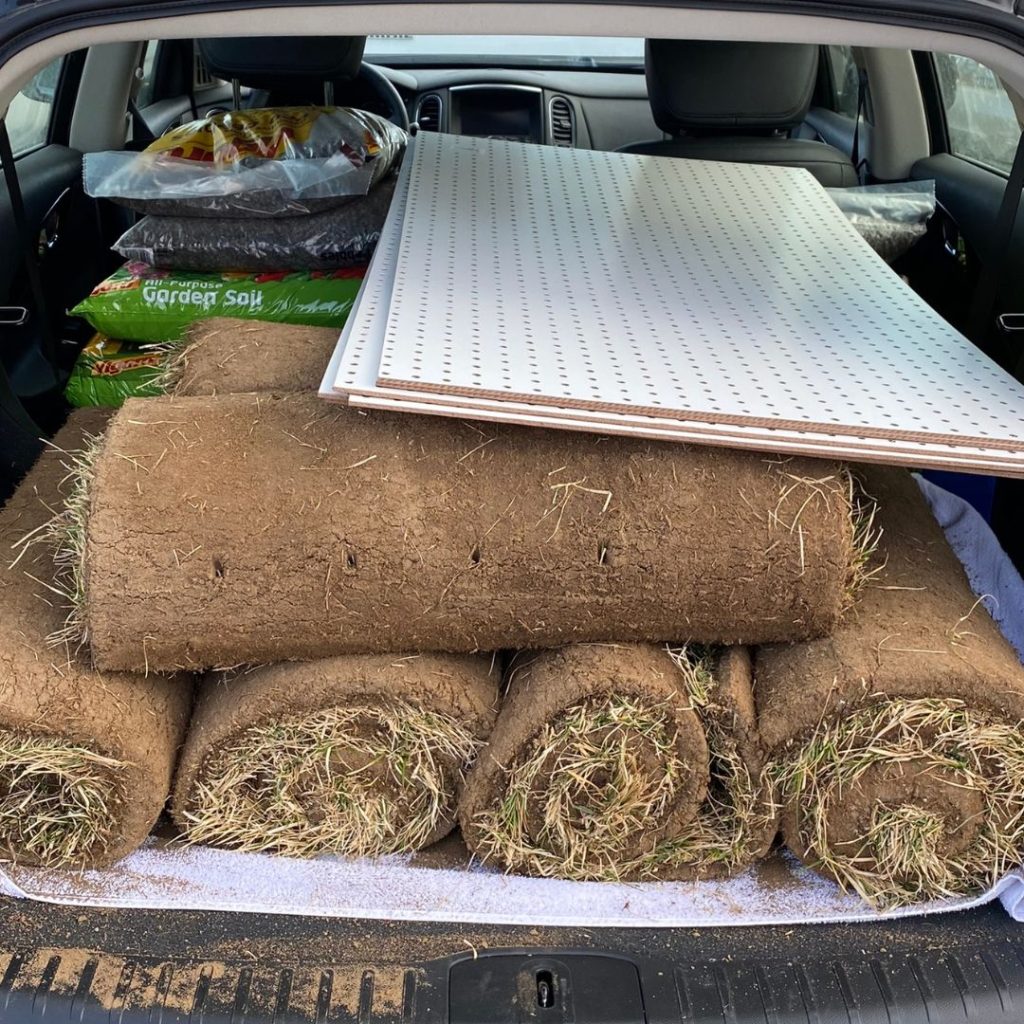
So, I decided to explore more of a hassle-free route.
Before determining how to go about this, I set out a couple of requirements for this iteration of my dog potty:
- Mess-free (or very minimal mess)
- Easy to set up and take down
- Large / spacious
- Did not smell
Dirt-Free Dog Potty Supplies Used
I only used 2 supplies in building this, and you can get your hands on these quickly.
I will go into more detail about each supply below (and the considerations for each), but if you just want the bullet points on what is needed for this dog potty, here they are:
- Hydroponic grass (this is the exact grass that I used)
- Edging (I bought my edging 6 years ago, so the exact one isn’t available anymore, but this one matches it the closest)
Supply 1 – Hydroponic Grass

Obviously, a dog potty needs grass or some other type of material.
Grass is my preferred material (and my dogs would agree), so rather than grow the grass myself or buy sod from Home Depot, I decided to buy THIS hydroponic / dirt-free grass. I can confirm that it IS dirt-free and leaves virtually no mess.
I bought the XL size, which is 48” x 24”.
I went with this choice specifically because:
- It was dirt-free (so easy clean-up).
- It was available in extra-long lengths.
The extra-long length was key. I have basset hounds, so my dogs are super long as it is, and they don’t like being confined to a small space for their potty.
Tray or no tray?
You’ll find that most hydroponic grass solutions – this one included – will offer a tray + grass option, but I don’t recommend this. I tried the tray option before and found the cleanup process to be very gross and messy. It might work better for smaller dogs with less that needs to be discarded.
What size to buy?
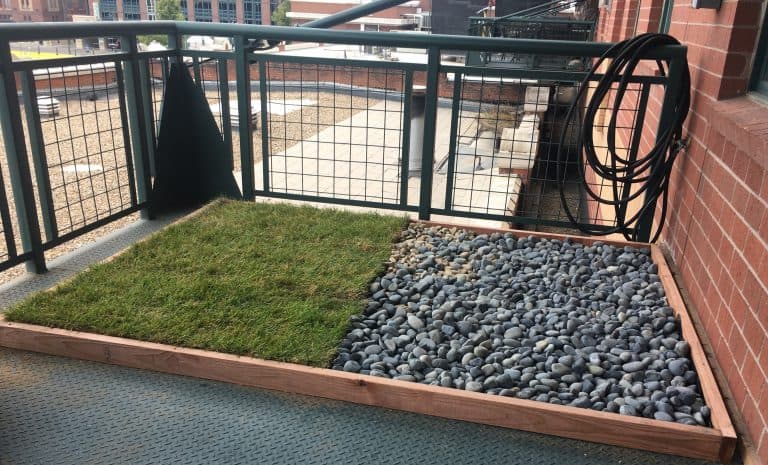
This is a matter of preference, but I went with the longest size available (48” x 24”). I then went ahead and bought 2 of them and put them side by side to make a large 4’ square. This seemed to provide ample space for my dogs.
Supply 2: Edging / Fencing
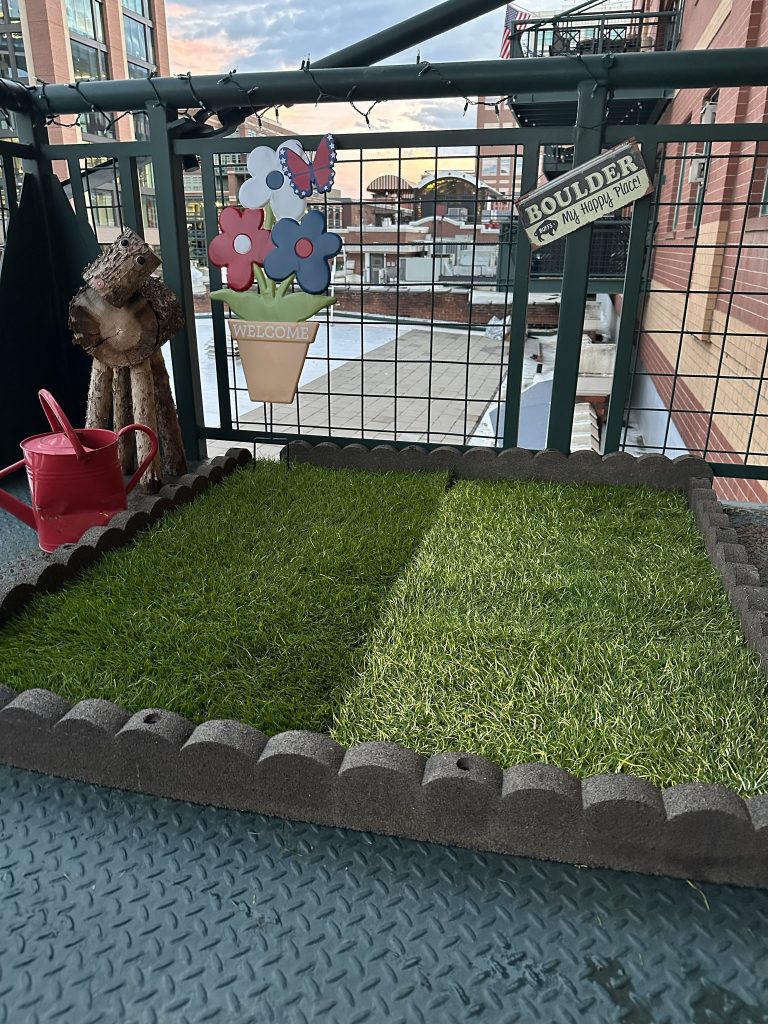
This item isn’t crucial, but I do recommend using garden edging because it makes the dog potty look like a designated area that’s separated from everything. I prefer this one because it’s heavy and durable. Better yet, this one is 4’ long, so it pairs perfectly with the XL potty. It’s also sold in a pack of 4, so you can put it around all sides of the dog potty.
While edging can be a little on the expensive side, you’ll only need to buy it once. My edging has lasted for over 6 years and shows no signs of being worn.
If you aren’t concerned with long-term usage, consider something cheaper like this one.
Other Things to Consider
Before getting started, there are a couple of things to consider.
Dog potty material preferred by your dog
All dogs are different. Most dogs like grass. Some prefer mulch. Some like dirt. Either way, think about what your dog actually likes! This particular potty solution is only going to work for dogs that like grass.
If your dog isn’t a fan of grass, there are plenty of dog potty material alternatives.
Size of area
As mentioned, I used two of the XL size. I also have a large balcony.
If you have a smaller area, or a dog that only needs a tiny potty space, you can definitely consider some of the smaller (and cheaper) sizes.
Not just for balconies!
While I did build this particular dog potty for a balcony, the idea can be used on any outdoor space.
Maintenance / Replacements
How often should you replace the grass? The answer really depends on how often it’s used. If it’s used daily, I would replace it more often than not.
My preferred timeframe is every 2 weeks. You can push it to a month – and I’ve tried this – but it does start to go brown after 1-2 weeks, so it really doesn’t look great at the 1-month mark.
Final Thoughts

There are lots of options out there for dog potties. Ultimately, you’ll have to decide what’s best for you and your dog!