DIY Moss Pole for Balcony or Small Outdoor Space
Making a DIY moss pole is a great alternative to buying them. Most importantly, it’s cheaper, and you can make them the right size, which is vital for balconies or small spaces.
So, let’s go over how to make your own moss pole.
DIY Moss Pole for Small Spaces: Considerations
All moss poles follow the same basic steps. However, there are some considerations when using them in small spaces, particularly outdoors. These include:
Size
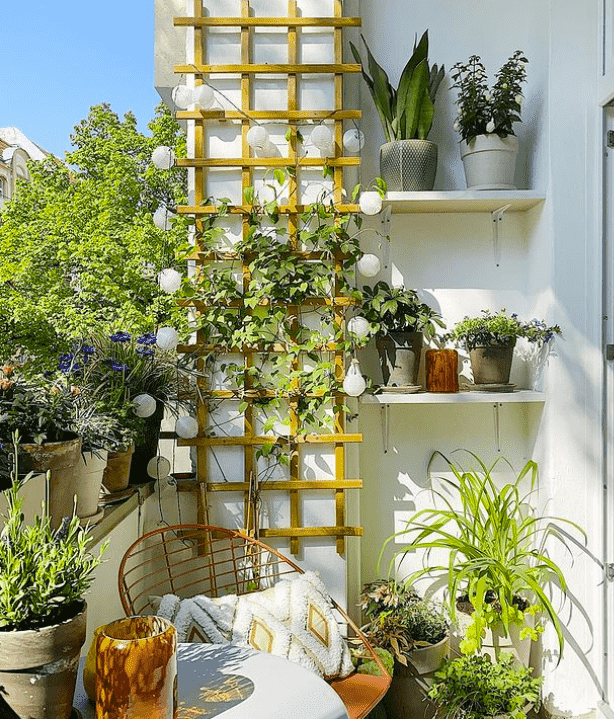
In small spaces (such as balconies), you don’t want huge moss poles. As such, our instructions will focus on small moss poles, as these are more suitable for compact spaces.
Weather-resistant materials
For the core of your DIY moss pole, you’ll want weather-resistant materials. There’s not much you can do about the actual moss, but you won’t want the inside of your pole to retain water because it could go moldy.
Plants
The plants that benefit the most from a DIY moss pole are aroids. Many (such as monstera and pothos) produce aerial roots. These latch onto the moss and draw nutrients from it.
For most other plants, a normal support pole (such as a bamboo cane) is more than enough.
How to Make Your Own Moss Pole
Making a DIY moss pole is pretty easy. You’ll need the following materials:
- A stake (we recommend PVC pipe for outdoor use) cut to the correct length
- Moss or coconut coir (sphagnum moss is ideal and is most commonly used)
- String, twine or chicken wire
- Pipe cutters
- Bucket and water
- Gloves
Coconut coir is made from the fibrous husk of coconuts. It can be better for outdoor moss poles because it’s naturally mold-resistant. We use sphagnum moss, though, because it takes quite a lot to make it moldy.
What you use to secure the moss is up to you. Jute twine looks nicer, but chicken wire is often better for outdoor use. That said, twine is easier to use in small amounts, so that’s what we’ll use here.
Method
1. Soak your moss
First, put on your rubber gloves and then half fill a bucket with water. Add the moss to the water and leave it to soak for up to 20 minutes. You might need to add more water during this time.
Sphagnum moss expands a lot when it’s wet. As such, you might add too much moss for the pole you’re making. It’s not a problem, as you can just dry it and use it another time.
2. Wrapping the pole
Cut the PVC pipe to a suitable length. It should have 6-9 inches for staking in the pot and then up to 2ft. for the plant to grow up. Of course, if you’re making a DIY moss pole for small spaces, make it shorter.
Cut the staking end at an angle so it’s easier to push into the soil.
Then, remove the moss from the bucket, squeezing out the excess water. Secure clumps of it to the pole by holding it in place and wrapping twine around it. Continue this in layers until you have up to half an inch covering the PVC pipe.
3. Staking and securing
Ensure there’s plenty of moss exposed, and then push the pole into the plant’s soil. Use small pieces of twine to secure the plant to the pole, and you’re done!
Final Thoughts on a DIY Moss Pole
So, now you know how to make your own moss pole. Making a DIY moss pole for small spaces mainly involves making them shorter, but the beauty of DIY is tailoring the design to your own space.