How to Plan a Balcony Makeover: A Step-by-Step Guide
Are you looking out at your uninspiring balcony and dreaming of a refreshed outdoor space? A well-planned balcony makeover can transform even the smallest outdoor area into a personal sanctuary.
This guide walks you through the essential steps to plan and execute your balcony transformation.
Step 1: Assess Your Space
Before diving into purchases or design ideas, take time to properly evaluate your balcony:
- Measure your balcony dimensions – Know exactly how much space you’re working with
- Check weight restrictions – Many buildings have limitations on how much weight your balcony can safely hold
- Note sun exposure and direction – Track how sunlight moves across your balcony throughout the day
- Consider privacy needs – Determine if you need screening from neighboring balconies
- Identify existing features – Note electrical outlets, drainage, permanent fixtures, and architectural elements
Step 2: Set Your Budget
Establish a realistic budget that covers all aspects of your makeover:
- Allocate funds for essential items (flooring, furniture, planters)
- Set aside a portion for decorative elements
- Include a small contingency fund (typically 10-15% of your total budget)
- Research price ranges for your must-have items to ensure your budget is realistic
Step 3: Determine Your Vision and Purpose

Decide how you want to use your balcony and what atmosphere you want to create:
- Dining area: For enjoying meals outdoors
- Lounge space: For relaxation and reading
- Container garden: For growing plants and herbs
- Workspace: For a change of scenery while working from home
- Multipurpose: A combination of several uses
- Pet area: To give your furry friend a dedicated space
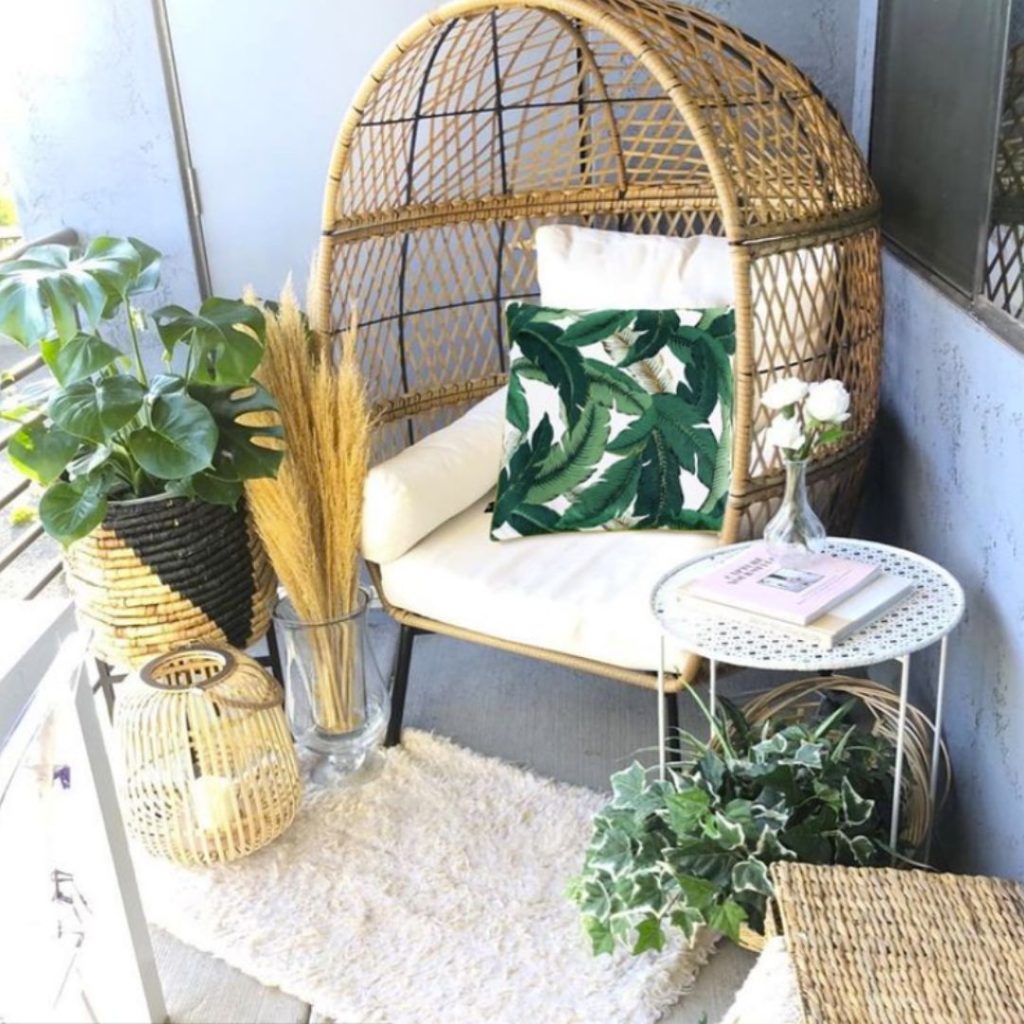
Step 4: Choose Your Design Style
Select a cohesive aesthetic that reflects your taste and complements your indoor space:
- Minimalist: Clean lines, limited color palette, and uncluttered space
- Bohemian: Layered textiles, mixed patterns, and eclectic accessories
- Modern: Contemporary furniture, geometric patterns, and sleek materials
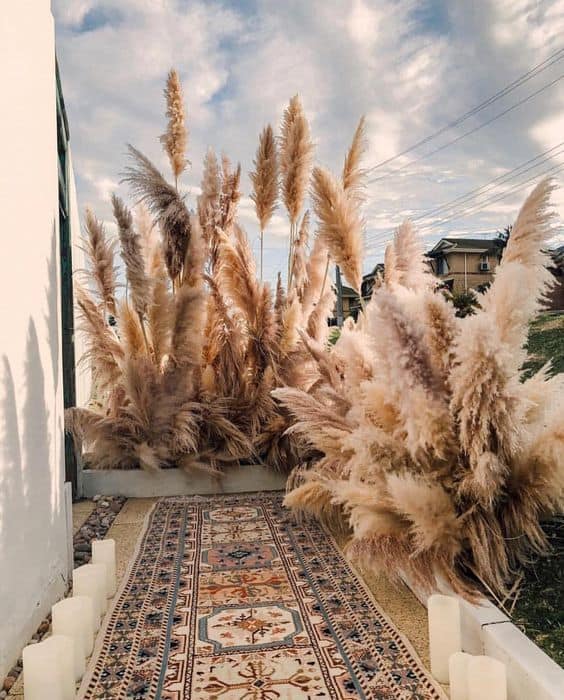
- Tropical: Vibrant colors, lush plants, and natural materials
- Mediterranean: Terracotta pots, blue accents, and wrought iron elements
Step 5: Plan Your Flooring
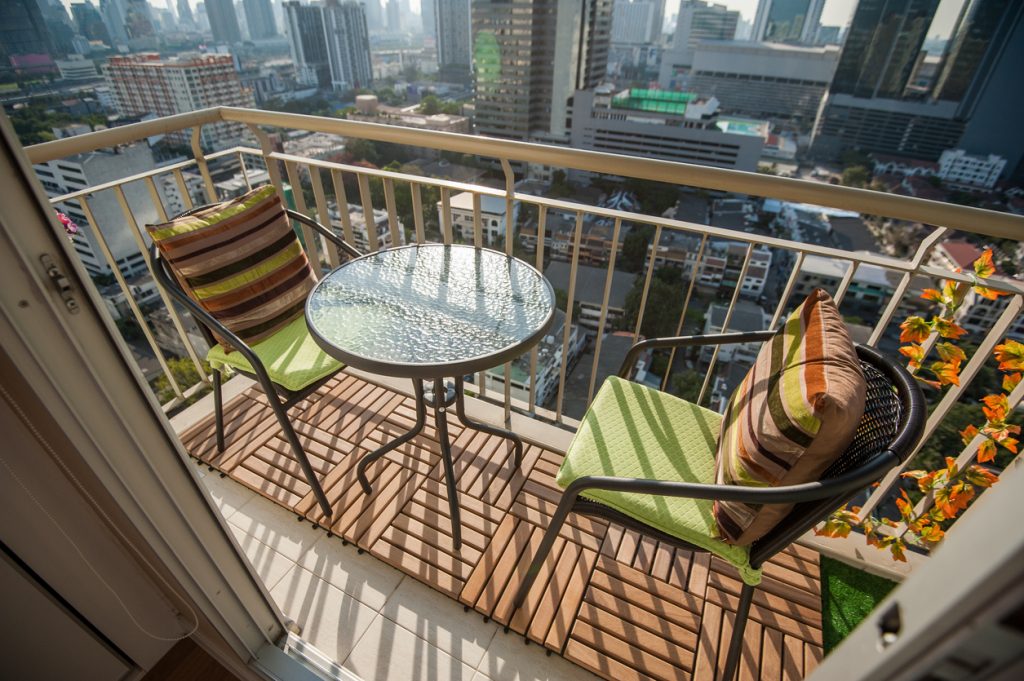
The right balcony flooring can dramatically transform your balcony:
- Deck tiles: Easy to install and remove, available in various materials
- Outdoor rugs: Adds color and texture without permanent installation
- Artificial grass: Creates a garden feel with minimal maintenance
- Stone tiles: Durable and weather-resistant option
- Painted concrete: Affordable way to add color to existing flooring
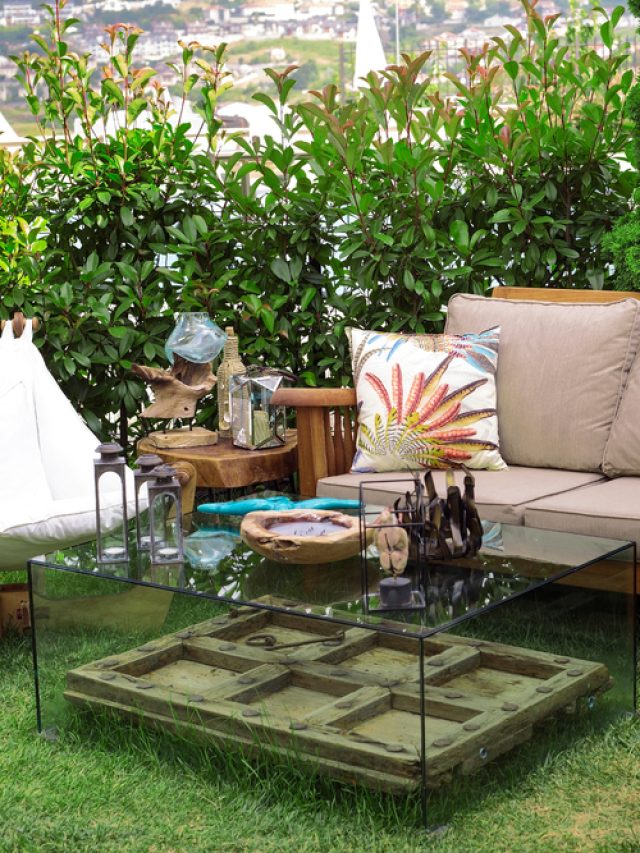
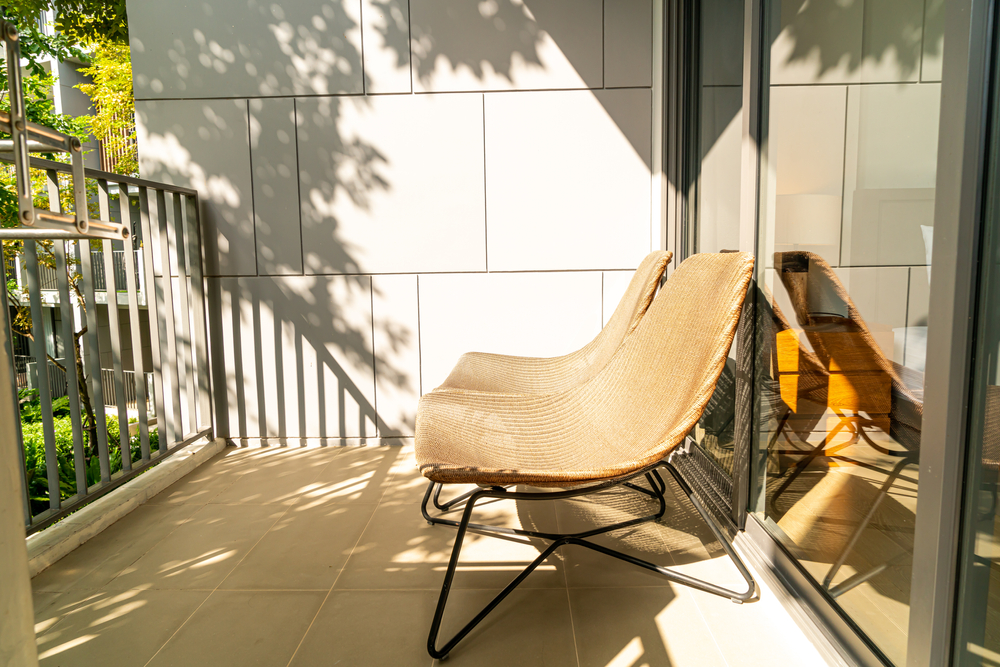
Step 6: Select Furniture and Storage Solutions
Choose pieces that maximize your space while serving your intended purpose:
- Consider folding or stackable furniture for flexibility
- Look for weather-resistant materials suitable for your climate
- Incorporate dual-purpose items (storage benches, nesting tables)
- Ensure proper scale—too large or too small pieces will throw off the balance
- Test comfort before purchasing seating items
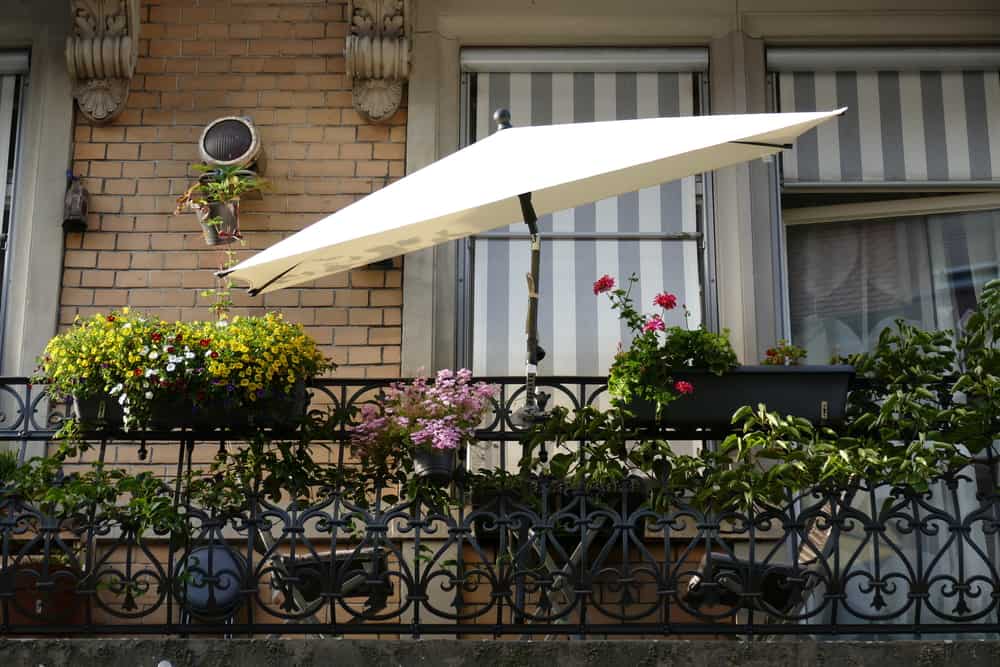
Step 7: Plan Your Greenery
Plants add life and freshness to any balcony space:
- Choose plants suited to your balcony’s sun exposure
- Consider seasonal changes and plant life cycles
- Select appropriate containers with proper drainage
- Plan a watering system (manual or automatic)
- Mix plant heights, textures, and colors for visual interest
Step 8: Consider Weather Protection
Prepare for different weather conditions to extend your balcony’s usability:
- Sun shade: Umbrellas, canopies, or retractable awnings
- Wind screens: Glass panels, bamboo screens, or outdoor curtains
- Rain protection: Waterproof covers for furniture
- Winter considerations: Storage solutions or weatherproof elements
Step 9: Plan Lighting

Extend enjoyment of your balcony into evening hours with strategic lighting:
- String lights: Creates a magical, ambient atmosphere
- Solar-powered lanterns: Environmentally friendly and no wiring needed
- LED strips: Can be installed under railings or steps
- Candles or battery-operated flameless candles: Adds warmth and ambiance
- Wall sconces: Space-saving lighting solution
Step 10: Create a Shopping and Implementation Timeline
Organize your makeover process with a clear plan:
- List all items needed, from largest (furniture) to smallest (accessories)
- Research suppliers and compare prices
- Create a purchasing schedule based on budget availability
- Plan the installation sequence (flooring first, then furniture, etc.)
- Schedule any professional help needed well in advance
Step 11: Execute Your Plan
Bring your balcony makeover to life:
- Clear the space completely before beginning
- Install new flooring if applicable
- Arrange furniture according to your plan, testing traffic flow
- Add plants and greenery
- Incorporate lighting elements
- Finish with decorative accessories
Step 12: Maintain Your New Space

Keep your refreshed balcony looking its best:
- Create a maintenance schedule for plants
- Have a plan for seasonal changes and storage
- Regularly clean and treat furniture according to material requirements
- Replace worn elements promptly to prevent deterioration
With proper planning and execution, your balcony can become your favorite “room” in your home—an extension of your living space that provides relaxation, beauty, and a connection to the outdoors. Start with a clear vision, stick to your plan, and soon you’ll be enjoying your transformed outdoor oasis.